
Watch this video guide
Th Shop Mania Pro Plugin will add Advanced premium features and functionality to Shop Mania free theme.
Go to Shop Mania Page Here>
Now choose your desired plan from here and hit the button Buy Now from the desired table.
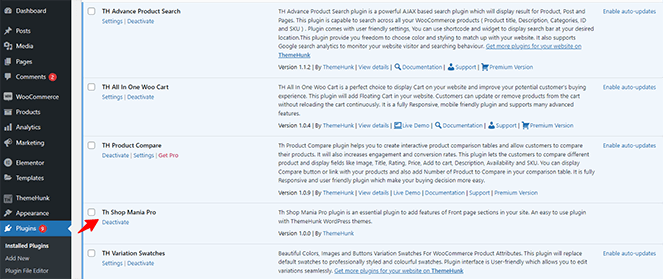
To Activate the License key for your Shop Mania Theme go to your WordPress Dashboard > Shop Mania Options > Click on License. From here you can Enter or Find your license key.
Video Tutorial for activating Licesne Key
When your theme is not updated, you can update it from the dashboard. Let’s see the complete procedure of updating the theme.

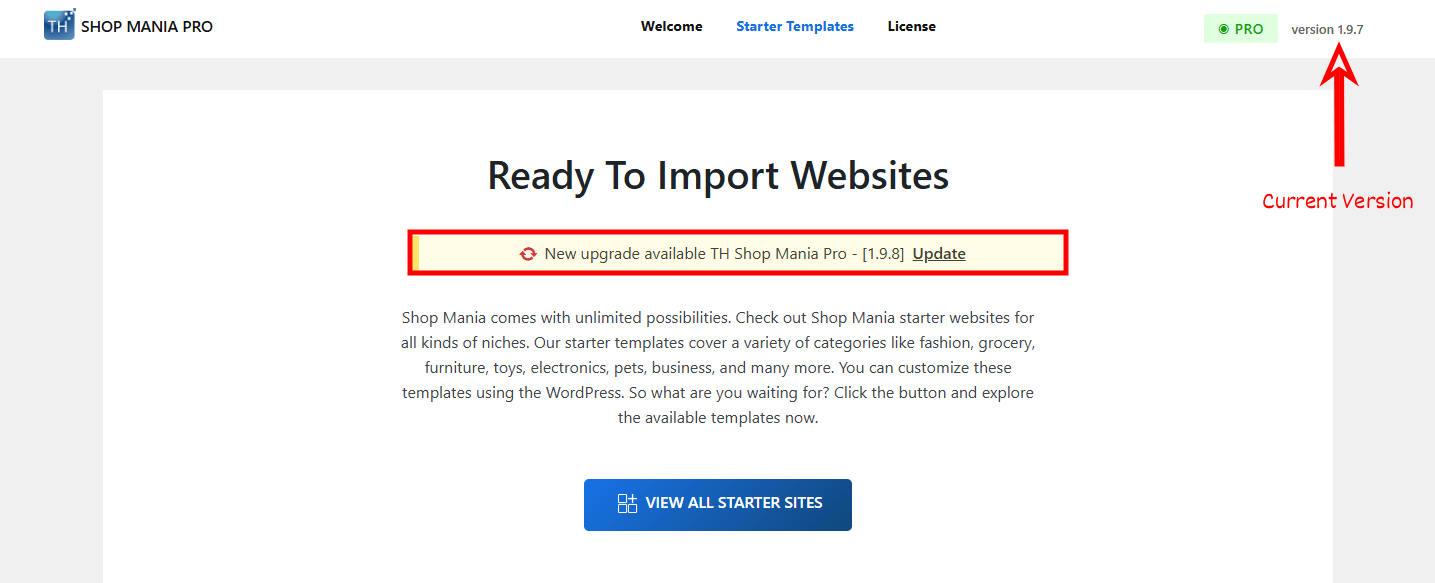

Your theme will be updated to the latest version.

You can watch the video below.
If it is showing an error on the update page, like below.
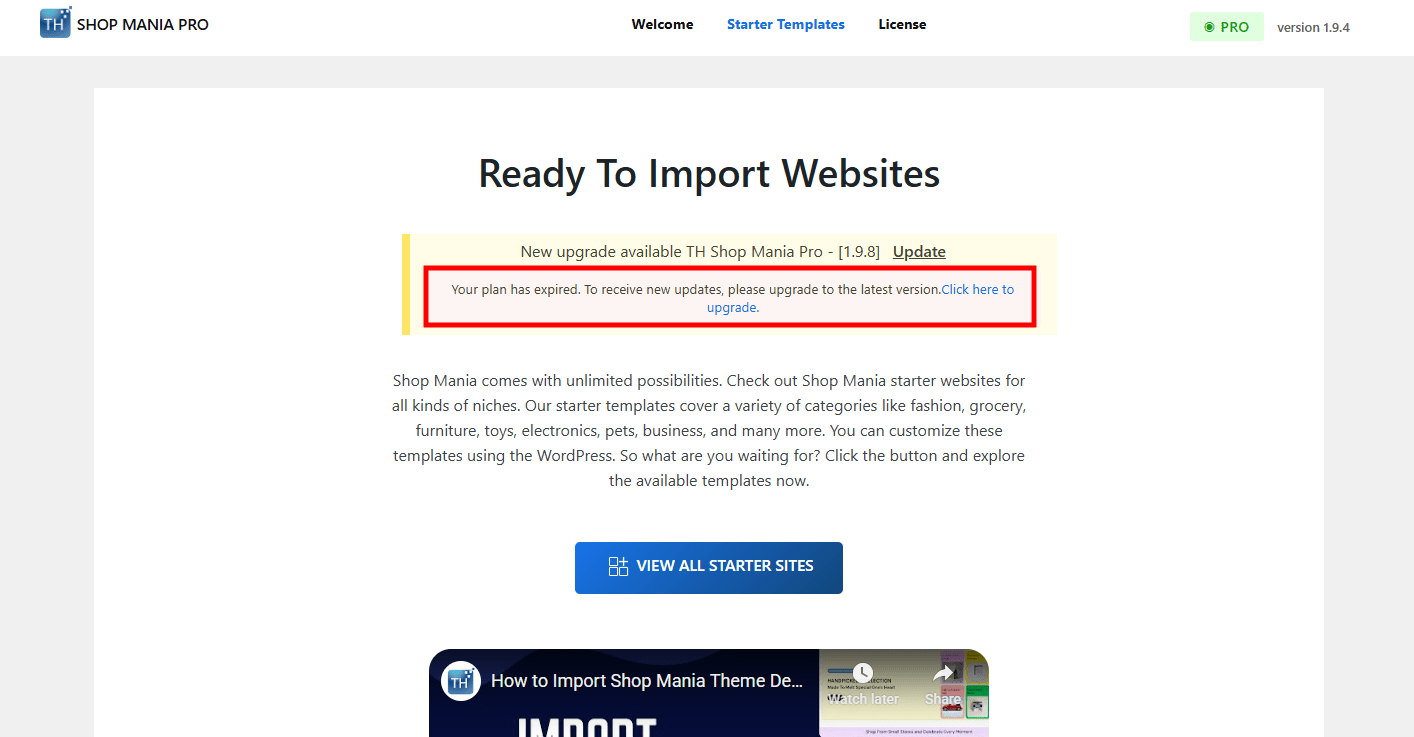
It means your license has expired. You need to renew the license to use Shop Mania further. Click on this link to renew the license.


Using this Option panel you can display Site logo or site title tagline and site icon in your website.


Let’s see how you can control the appearance of product categories in mobile devices.
Open your WordPress dashboard and go to Appearance and click on Customize

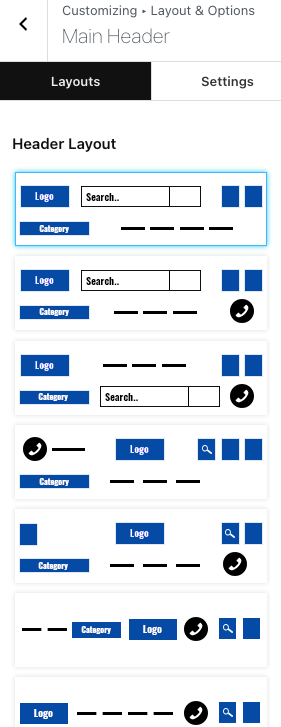
Navigate to Layout & Options > Header > Main Header

You will see two tabs here, i,e, Layouts & Settings, click on Settings.

Scroll down to Choose Categories if you want limited categories, select the categories you want to display in mobile devices

After selecting the desired categories, click on Publish button.
This is how it will appear on Mobile Devices.

Using Header Setting you can display and customize your Website Header. For the Main header setting, Go to Appearance > Customizer > Layout & Options > Header.
Transparent Header, as the name says, is a see-through header, where users can see what is underneath the header.
Let’s see how you can add a transparent header to your website.
And done, below is how your transparent will look.
If you have ever seen such a header, you must be aware of how professional it looks. When you enable the glass header, the header and background are slightly visible when users scroll through the website.

Let’s see the complete procedure to enable this header.

You can also change the background color from Total Color & BG Options > Header > Sticky Header.
Here, you can change the background color, blur radius, and background image.
This is how it will look.
To customize the mobile header setting, go to Appearance > Customizer > Layout & Options > Mobile Header.
Mobile Top Header Layout
You can customize 3 different types of Mobile Header layouts.

You can watch the below video to see how it works
To enable the Bottom Sticky Header on your site.

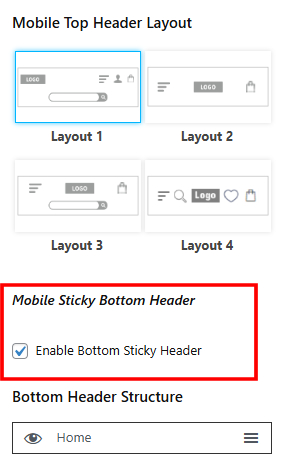
The file below is a preview of Bottom Sticky Header.

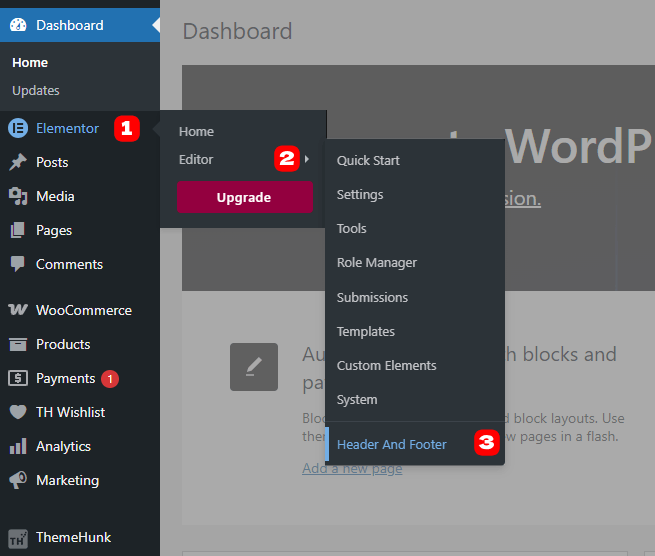
You can create header and footer templates with Elementor and then add them to Shop Mania. Let’s see how to do so,


First, you need to give it a title. After that, select the type of Template you want to make. You will get three options here

Select any one from these options. Come to the Display Rules
If you want to add another rule, simply click on Add Rule and select (Include or Exclude) whatever you want to add rule of.

In the User Roles, select the role that you want to show the template to, for example, if you select Logged In, then the template will be visible to logged in users only.

You can Enable Layout for Elementor Canvas Template? if you want to show the template on the Canvas templates also.
After all, click on Edit with Elementor to create temlplate.

This will open an Elementor page.

Drop two containers, one inside another, you will see its settings on left side.

In the Advanced Tab, you can spot the Sticky Header option.
You need to create a header design into the inner container, as I created below

Now select the parent container and go to advanced settings. Click on Stick (Header),

After this, select the inner container and go to setting. Enable the Liquid Glass button and adjust the settings below button

This is how the preview will look.

Likewise, you can create footer and section template.
Move to Top feature is a must to make a professional website. It looks cool and enables users to move to the top with one click, so they don’t have to scroll too much.
Let’s see how you can add a Move to Top button on your site.

You get an appealing animation that shows how much the website you scrolled.
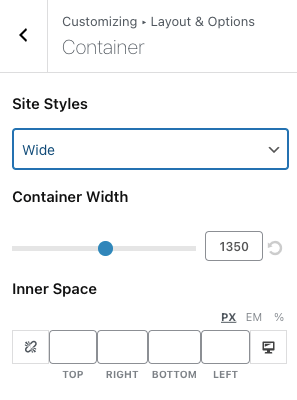
For this setting, Go to Appearance > Customize > Layout & Options> Container
For Color & Background, Go to Appearance > Customize > Color & Background. You can pick colors for every element and upload a background image.
You can add the typography on your site with multiple Google & standard fonts. Using different fonts on your site makes it a creative website.
For Typography, Go to Appearance > Customizer > Typography > Base Typography. Typography is the best way to show your content in a unique and attractive way. You can add multiple Google & standard fonts using typography on your site. Using different fonts on your site makes it a creative website.
Choose the font of your title. This will set typography for overall site titles.
This will set the overall typography of single page from heading H1 to H6.


To customize Login & Registration Layouts Navigate to Appearance > Customizer > Layout & Options > Login & Registration Layout
Here is the Video Tutorial to Customize Login & Registration Layouts on your website.
There are 4 Login & Registration Layouts that you can use to create a login page on your website. The 4 Login & Registration Layouts include- Classic Page, Standard Page, Popup Login Layout 1, and Popup Login Layout 2
To customize Blog Page Layouts Navigate to Appearance > Customizer > Layout & Options > Blog
Here is the Video Tutorial to Customize the Blog Page on your website.
There are 5 Types of Blog Layouts you can choose from. Layout includes-
To customize Login & Registration Layouts Navigate to Appearance > Customizer > Layout & Options > 404 Page
Here is the Video Tutorial to Customize the 404 Page on your website.
There are 2 types of 404 pages on the Theme. One is Classic and Another is Standard.
Classic- In this layout, the content of the 404 page will be shown as the default 404 page. Although you can customize the 404 pages by adding an image, subtitle, description, and button.
Standard- In this layout, the content of the 404 page will be aligned center. Although you can customize the 404 pages by adding an image, subtitle, description, and button.
To customize the Social icon Navigate to Appearance > Customizer > Social icon
Here you can enter social media links to display on your website.
To customize the Social icon Navigate to Appearance > Customizer > Preloader
Here you can enable or disable the preloader on the website. You can customize the preloader with Background Color and PreLoader Image.

To customize Widgets Layouts Navigate to Appearance > Customizer > Widgets
You can create and modify different widgets on your website. Shop Mania comes with 11 widget options.
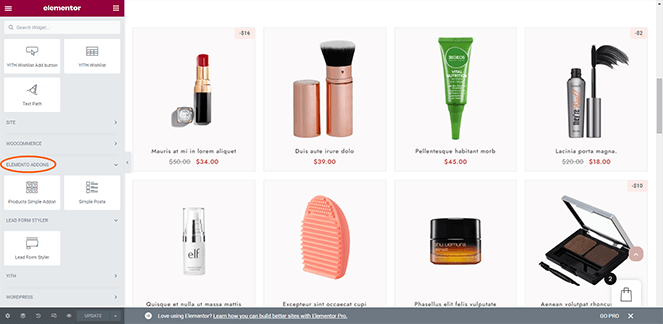
To customize Product Style Navigate to Appearance > Customizer > WooCommerce > Product Style
From here you can Customize Product Image Hover Style and Sales Badefe Text-

Product Image Hover Style- Here you can change the product image hover style with, options like- Zoom, Fade Swap, Slide Swap
You can also Enable or Disable Hover on Quick View
Sale Badge Text- here you can enter your sale badge text.

To customize Product Style Navigate to Appearance > Customizer > WooCommerce > Shop Page
Here you can select different Pagination from available options- Numbered, Load More, Infinity Scroll. You can watch the below video to get an idea of how your shop page will look after different Pagination styles.
Here you can change different Product Layout styles as you can see below video
To customize Checkout Page Layouts Navigate to Appearance > Customizer > WooCommerce > Checkout Page
There are 3 Checkout page Layouts they are-
You can Enable or Disable distraction-free checkout- A distraction-free checkout is one of the easiest ways to minimize cart abandonment rates, ensure a seamless checkout experience, and maximize your store’s sales
The checkout page comes with 3 Layout options- Standard, Vertical and Stepped.
To customize Checkout Page Layouts Navigate to Appearance > Customizer > WooCommerce > Checkout Settings
From here let you change the appearance of the WooCommerce checkout.
To customize Checkout Page Layouts Navigate to Appearance > Customizer > WooCommerce > Cart Page

Enable Distraction Free Cart– Here you can enable or disable the distraction-free cart.
” it is to remove as much clutter and distractions through the checkout procedure – so customers can focus on completing the checkout entirely and end up buying your products.“
Enable Cross Sell Products- Here you can enable or disable cross-sell products
“Cross-selling is the process of offering customer products that are compatible with the ones they’re purchasing.”

To customize Store Notice Navigate to Appearance > Customizer > WooCommerce > Store Notice
You can enable or disable hinted store notice to tell your customer any important update or information. for more, you can watch the below video to get an idea about Store Notice.
To customize Product Catalogue Navigate to Appearance > Customizer > WooCommerce > Product Catalogue
Here you can customize Product Catalogue settings. You can watch the below video to get an idea about it.
To customize the Product Images Navigate to Appearance > Customizer > WooCommerce > Product Images
Here you can customize image dimensions
To customize Single Product Page Layouts Navigate to Appearance > Customizer > WooCommerce > Single Product
There are 5 Different product image gallery layouts they are-
You can watch this video to know how it works-
There are 2 types of single-product page layouts.
You can watch Video to get an idea about Single Product
There are 5 Product Image Gallery styles and 2 Single Product Page Layouts you can use. They also come with lots of customizations.

To add the Variation Gallery Images, open the product in the dashboard and follow the steps shown in the gif below.
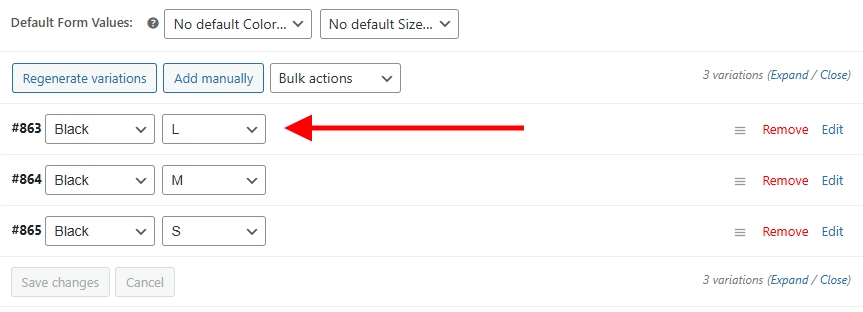

That’s it. The Variation Gallery Images are set for the selected product.
You can see the result below.

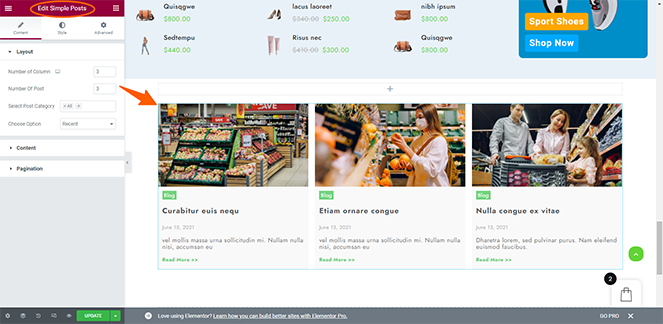
To show the related product on a page. Follow these steps


That’s it. Save the changes. The Bought Together products are added.

To add the Product Countdown to the product, follow the steps.


That’s it, the countdown is added to the product. Below is the preview of the product

To add the Marquee to your site, follow the steps written below


With the settings given, you can adjust the alignment of the slides


And below is a preview of the Marquee

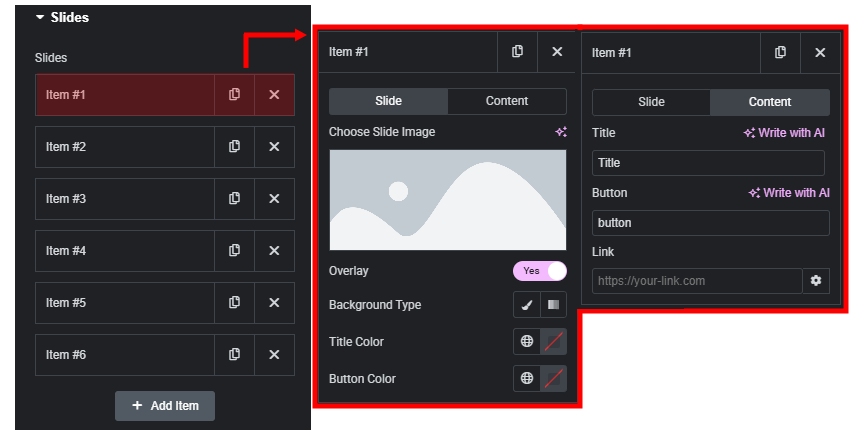
To add the Swipe Slider, open the page and edit with Elementor

Once dropped, its settings will appear in the sidebar

You can change the text for the title, description, and button, and provide the link for the button

With these lines, you can make changes in the width and gap of the content and slides

When you go a little down, you will find the content sorting section
Down the Content Sorting, you will find the Slider Navigation

Now let’s see how you can style the Swipe slider to make it look better

And below is the preview
Let’s see how to add Sticky Content Scroll to a website. But before this, you need to create Elementor templates for the content.
I have created 4 templates for two slides, each slide has 1 image and 1 its description

To add Sticky Content Scroll, open the page and edit it with Elementor

Having dropped the widget, its settings will appear in the sidebar

Here you can adjust the width of the content. You can select from the options whether you want to keep which side sticky.
For mobile devices, settings are given too.

Below is the preview of the Sticky Content Scroll.
Let’s see how can you add the Sticky Card Container to your site
Remember you need to create the Elementor templates before you add the Sticky Card Container
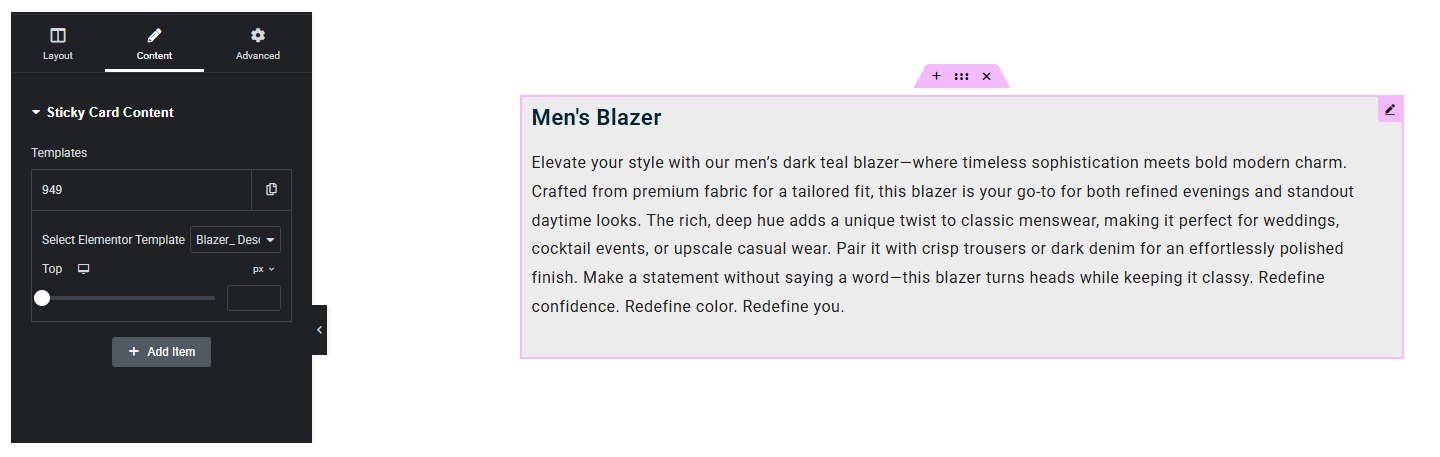
To add the Sticky Cart Container to your website open your site, and edit with Elementor.

Once you drop the widget, its settings will appear in the sidebar.

One Item shows one container
When you select a template, it will show on the page
Likewise, copy the container or click on Add New to add another container

For layout settings, click on Layout

This is how you can add the Sticky Card Container to your site.
While importing a premade demo, it sometimes gets stuck on the screen and takes an unusually long time.
This problem can be corrected in simple steps.

This helps in fixing the Broken Links that may cause such an error.
Method 2

In the above screenshot, only ThemeHunk’s plugins are activated.
Method 3
Method 4
Usually, this problem arises due to the Cache, Security, and Hosting Provider’s pre-installed plugins. So consider deactivating them.
After these steps, hard refresh your page and import the template. It will work fine.
